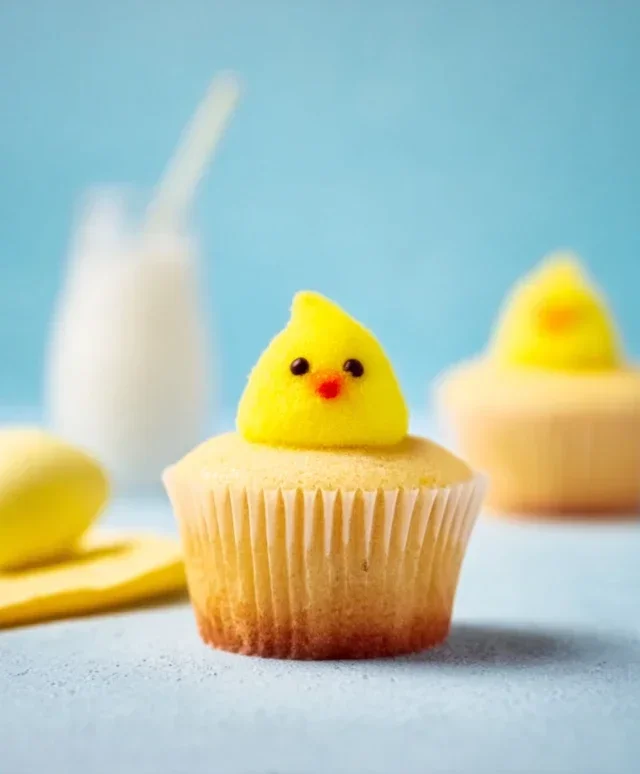
Easter Chick Cupcakes- Cute & Easy Recipe
Easter Chick Cupcakes are an absolute delight, and I’m so excited to share this recipe with you! There’s something incredibly joyful and undeniably charming about these little edible sunshine creatures that makes them a perennial favorite for spring celebrations. Imagin extracte the smiles they’ll bring to faces, big and small, as they emerge from their baking pans, ready to be transformed into adorable little chicks. What truly makes these Easter Chick Cupcakes so special is their irresistible combination of fluffy cake, creamy frosting, and those darling little details that bring them to life. They’re not just a dessert; they’re a conversation starter, a centerpiece, and a guaranteed way to add a burst of cheerful sweetness to your Easter gathering. Get ready to embrace the fun and create some unforgettable memories with these delightful treats!
Easter Chick Cupcakes
These adorable Easter Chick Cupcakes are sure to be the star of your spring celebrations! They’re surprisingly easy to make, and the final result is just too cute to eat (almost!). We’ll start with a moist and tender vanilla cupcake base, then whip up a fluffy buttercream frosting and transform it into cheerful little chicks. Get ready for some serious “awws” and delighted smiles when you unveil these sweet treats.
Ingredients:
Cupcake Preparation
Let’s get our delicious cupcake base ready. This recipe yields a wonderfully tender crum extractb that’s perfect for frosting.
Fluffy Vanilla Buttercream
Now for the pièce de résistance – our luscious buttercream frosting. This recipe uses a Swiss meringue method, which results in an incredibly smooth and stable frosting.
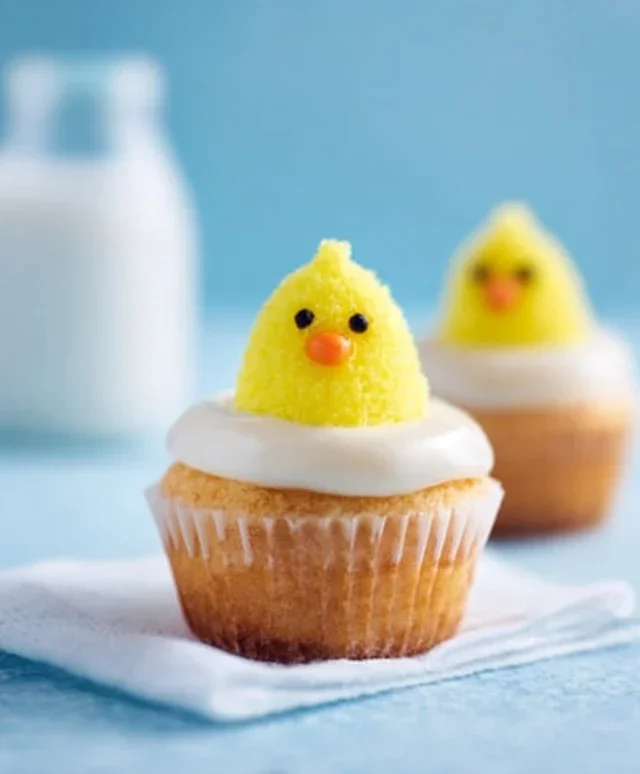
Assembling Your Easter Chicks
This is where the magic happens! Transform your cooled cupcakes and fluffy frosting into adorable little chicks.
These Easter Chick Cupcakes are a delightful project that will bring joy to your table. Enjoy the process and the delicious results!
Conclusion:
I hope you’ve enjoyed learning how to create these absolutely adorable Easter Chick Cupcakes! This recipe is a fantastic way to bring a burst of springtime cheer to your Easter celebrations. They’re not only visually stunning, making them a perfect centerpiece for any Easter brunch or party, but they’re also incredibly delicious. The moist vanilla cake pairs wonderfully with the sweet, creamy buttercream frosting, and the simple decorating process is a joy for bakers of all skill levels.
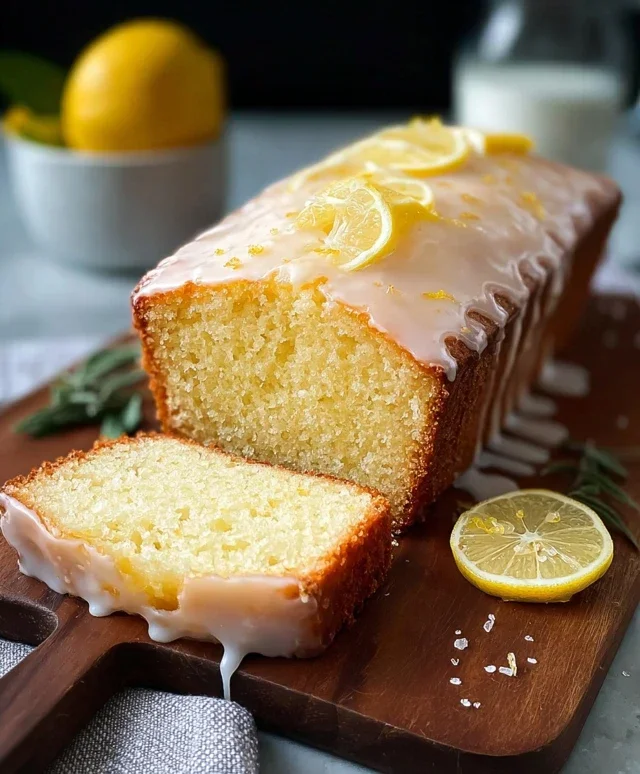
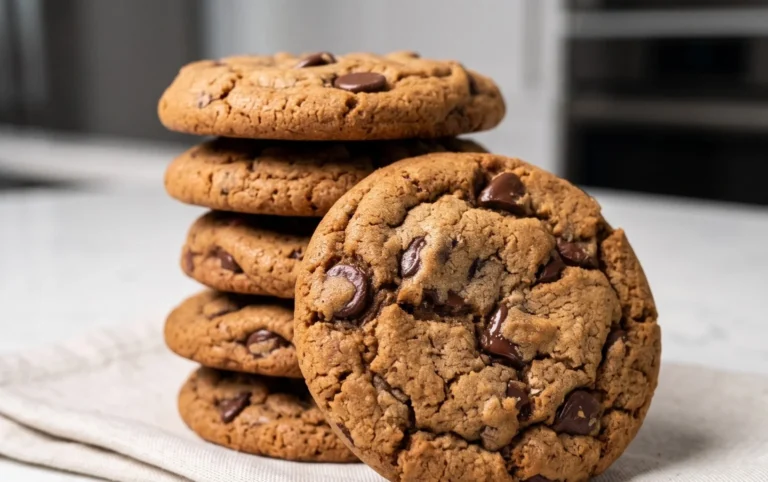
Serve these delightful Easter Chick Cupcakes alongside other festive treats like pastel-colored cookies or a fruit salad. They’re guaranteed to be a hit with both kids and adults! Feel free to get creative with variations too. You could try a lemon cake base for a brighter flavor, or experiment with different colored candies for the chick’s eyes and beaks. The possibilities are endless!
I truly encourage you to give this Easter Chick Cupcake recipe a try. It’s a simple, rewarding project that will undoubtedly add a touch of homemade magic to your holiday. Happy baking!
Frequently Asked Questions:
Can I make these cupcakes ahead of time?
Yes, you can bake the cupcake cakes up to two days in advance and store them in an airtight container at room temperature. The buttercream frosting can also be made a day ahead and refrigerated. Bring the frosting back to room temperature and re-whip it before decorating for the best texture.
What if I don’t have yellow food coloring for the frosting?
No problem at all! You can achieve a lovely chick color by using a small amount of orange food coloring mixed with a bit of brown food coloring. Alternatively, you could embrace a more natural approach and use a touch of turmeric for a subtle yellow hue, though this might slightly alter the flavor.
Are there any nut-free variations?
Absolutely! This recipe is naturally nut-free, provided you use nut-free ingredients for your cake mix and frosting. Always double-check your ingredient labels to ensure no cross-contamination.
Easter Chick Cupcakes
Adorable and delicious cupcakes decorated to look like Easter chicks. Perfect for spring celebrations.
Ingredients
-
1 cup granulated sugar
-
1 3/4 cups cake flour, not self-rising
-
1 1/2 tsp baking powder
-
1/2 tsp baking soda
-
1/2 tsp salt
-
1/4 cup unsalted butter, at room temperature
-
2 eggs
-
1/3 cup full-fat sour cream
-
1/4 cup vegetable oil
-
1 tbsp vanilla extract
-
2/3 cup milk, at room temperature
-
6 tbsp water
-
1 1/3 cup granulated sugar
-
6 egg whites
-
3 sticks unsalted butter
Instructions
-
Step 1
Preheat oven to 350°F (175°C). Line muffin tins with cupcake liners. -
Step 2
In a large bowl, whisk together cake flour, 1 cup granulated sugar, baking powder, baking soda, and salt. -
Step 3
In a separate bowl, cream together 1/4 cup unsalted butter, eggs, sour cream, vegetable oil, and vanilla extract until well combined. -
Step 4
Gradually add the wet ingredients to the dry ingredients, alternating with milk and water, mixing until just combined. Do not overmix. -
Step 5
Fill cupcake liners 2/3 full and bake for 18-20 minutes, or until a toothpick inserted into the center comes out clean. -
Step 6
For the frosting, beat egg whites and 1 1/3 cup granulated sugar until stiff peaks form. Gradually add softened unsalted butter, one stick at a time, beating until smooth and fluffy. -
Step 7
Decorate cooled cupcakes with yellow frosting and candy eyes to resemble chicks.
Important Information
Nutrition Facts (Per Serving)
It is important to consider this information as approximate and not to use it as definitive health advice.
Allergy Information
Please check ingredients for potential allergens and consult a health professional if in doubt.