Easy Loading Recipe – Delicious & Quick
Loading… is more than just a meal; it’s an experience. This dish, often a deeply comforting and utterly satisfying answer to “What’s for dinner?”, holds a special place in so many hearts for a reason. It’s the perfect blend of textures and flavors that come together in a harmonious symphony, making every bite a delightful surprise. What makes Loading… so universally loved is its inherent versatility, its ability to be both a weeknight savior and a showstopper for gatherings. We often find ourselves craving that specific combination of tender, flavorful components nestled together, promising a burst of warmth and satisfaction. It’s the kind of dish that feels like a hug from the inside, a culinary masterpiece that never fails to impress.
Loading…
There’s a certain magic that happens when simple ingredients come together to create something truly comforting and delicious. Today, we’re diving into a recipe that’s less about a specific cuisine and more about the universal joy of a perfectly cooked protein. While the name might be a placeholder for now, the process and the results are anything but. We’re going to focus on building flavor, achieving a beautiful sear, and ensuring our chicken is cooked to absolute perfection. This is a foundational recipe, one you can adapt and build upon, but getting these core steps right is key to unlocking incredible taste and texture.
Ingredients:
Cooking Instructions:
Here’s how we’ll transform these humble ingredients into a star of your meal:
Preparation is Key: Getting the Chicken Ready
The very first step, and it’s a crucial one, is to prepare your chicken. Take your chicken breasts and place them on a clean plate or cutting board. Use paper towels to thoroughly pat them dry on all sides. This might seem like a small detail, but it’s incredibly important. Moisture on the surface of the chicken will steam rather than sear, preventing that desirable golden-brown crust we’re aiming for. A dry surface allows the oil to make direct contact with the protein, leading to better caramelization and a more appealing texture. Once dried, it’s time to season. In a small bowl, combine your salt, pepper, garlic powder, and onion powder. If you’re using any optional spices, add them here as well. Evenly sprinkle this seasoning blend over both sides of the chicken breasts, gently pressing it in to ensure good adhesion. Don’t be shy with the seasoning; this is where a lot of the initial flavor comes from.
Heating the Pan: Building the Foundation for a Perfect Sear
Now, let’s get our cooking vessel ready. Place a large skillet, preferably cast iron or stainless steel, over medium-high heat. Add your olive oil to the skillet. Allow the oil to heat up until it shimmers. You can test this by flicking a tiny drop of water into the pan; if it sizzles immediately and evaporates, the oil is at the right temperature. If the oil is too cool, your chicken will absorb it and become greasy. If it’s smoking excessively, it’s too hot, and you risk burning the exterior before the inside is cooked. The goal here is to create a hot surface that will immediately start to crisp up the exterior of the chicken.
The Sear: Creating that Irresistible Golden Crust
Carefully place the seasoned chicken breasts into the hot skillet. Be sure to lay them away from you to avoid any oil splatter. You should hear a satisfying sizzle the moment they hit the pan. Resist the urge to move or disturb the chicken for at least 4-5 minutes. This undisturbed time is what allows for the development of that beautiful, golden-brown crust. The Maillard reaction, that magical process responsible for browning and flavor, needs time and consistent heat. After 4-5 minutes, or once the underside is deeply golden and easily releases from the pan, it’s time to flip them. You can gently lift a corner with a spatula to check. Flip the chicken breasts and repeat the searing process on the other side for another 4-5 minutes.
Cooking Through: Ensuring Tenderness and Safety
Once both sides of the chicken have a nice sear, reduce the heat to medium or medium-low. This lower heat will allow the chicken to cook through to the center without the outside becoming overcooked or burnt. Continue cooking, flipping the chicken every 5-7 minutes, until it reaches an internal temperature of 165°F (74°C). This is the most critical step for food safety and for ensuring your chicken is tender and juicy. Do not rely solely on cooking time, as chicken breasts can vary in thickness. A meat thermometer is your best friend here. Insert the thermometer into the thickest part of the chicken breast, ensuring it doesn’t touch any bone (though these are boneless). If you don’t have a thermometer, you can check for doneness by piercing the thickest part with a fork or knife; the juices should run clear, with no pink visible. Overcooked chicken can become dry and tough, so vigilant temperature monitoring is key.
The Rest: The Secret to Succulent Chicken
This final step is often overlooked, but it’s absolutely essential for succulent chicken. Once your chicken has reached 165°F (74°C), remove it from the skillet and place it on a clean plate or cutting board. Loosely tent it with foil. Let the chicken rest for about 5 minutes. During cooking, the muscle fibers in the chicken contract, pushing the juices toward the center. Resting allows these juices to redistribute back throughout the entire piece of meat. If you cut into it immediately, all those delicious juices will run out onto your plate, leaving you with drier chicken. This short resting period makes a world of difference in the final texture and moisture of your dish. After resting, your chicken is ready to be sliced and served, or incorporated into your favorite recipes. Enjoy!
Conclusion:
I hope you’re as excited about this recipe as I am! It truly is a fantastic creation, offering a delightful balance of flavors and textures that make it perfect for any occasion. Whether you’re looking for a comforting weeknight meal or something impressive to share with friends, this dish delivers. Its adaptability means you can easily tailor it to your preferences, making it a go-to in my own kitchen. I highly encourage you to give it a try and experience its wonderful deliciousness for yourself. Don’t be afraid to experiment with the variations suggested; that’s where the real magic happens!
Frequently Asked Questions:
What are some other great serving suggestions?
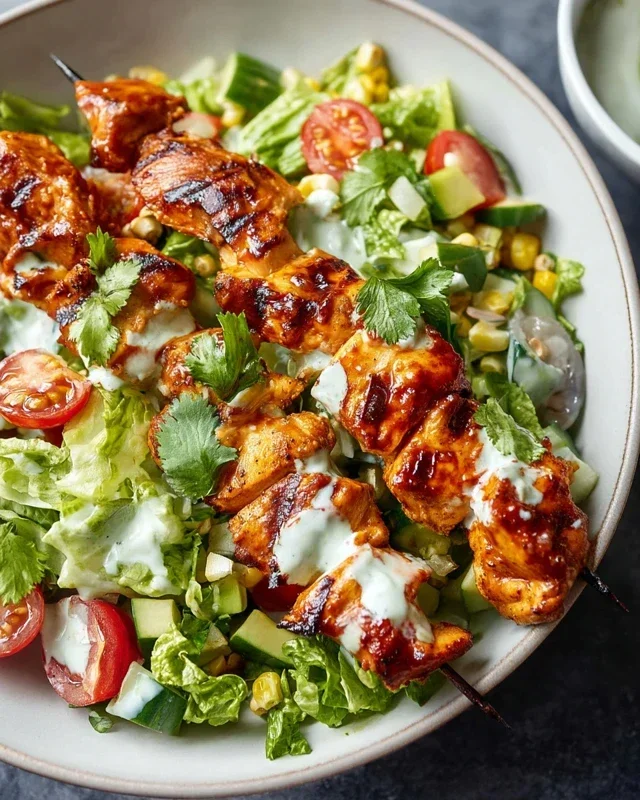
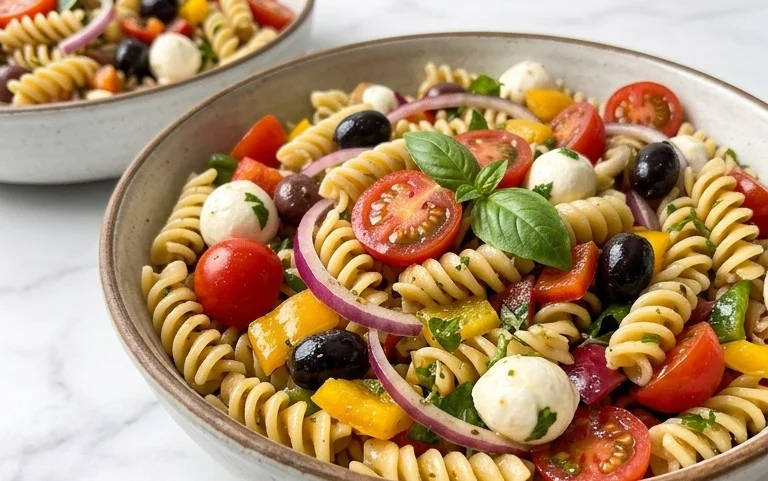
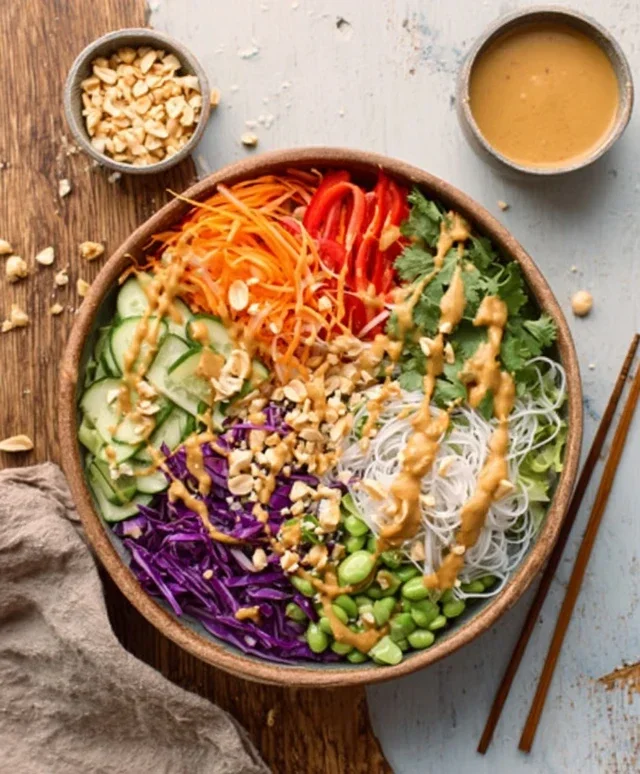
Beyond the classic pairings, consider serving this with a vibrant, fresh salad to cut through the richness. A side of crusty bread is always a winner for soaking up any delicious sauces. For a more substantial meal, it pairs wonderfully with roasted root vegetables or a fluffy pilaf. And for a touch of indulgence, a dollop of sour cream or Greek yogurt can add a lovely creamy element.
Can I make this recipe ahead of time?
Yes, absolutely! Many components of this dish can be prepared in advance. The base can be made and stored in the refrigerator for a day or two. Reheating gently on the stovetop or in the oven will bring it back to its delicious glory. This makes it an excellent option for meal prep or for busy evenings when you want a delicious meal without the fuss.
What if I don’t have a specific ingredient?
Don’t worry! This recipe is quite forgiving. For instance, if you’re missing a particular herb, feel free to substitute with a similar one you have on hand, or even a dried version. If a certain vegetable isn’t available, consider what other seasonal produce you enjoy and experiment. The goal is to have fun and create something you’ll love!
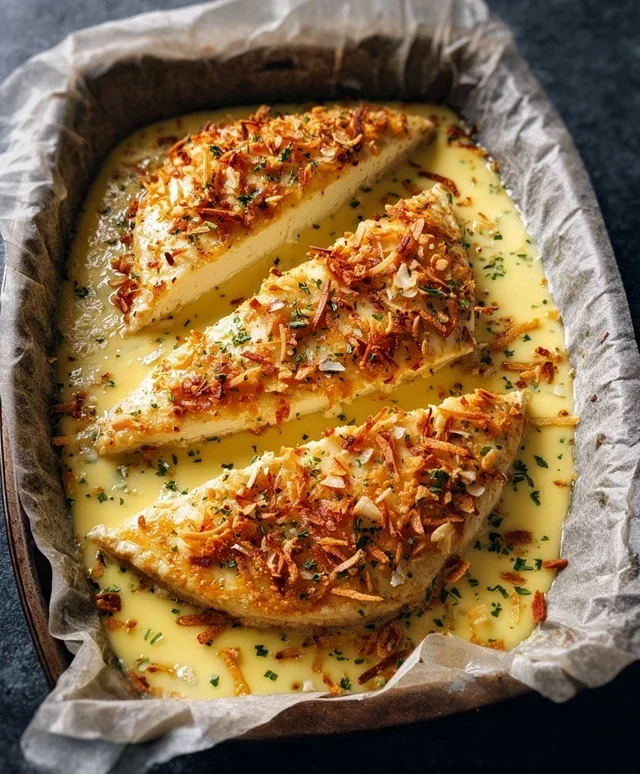
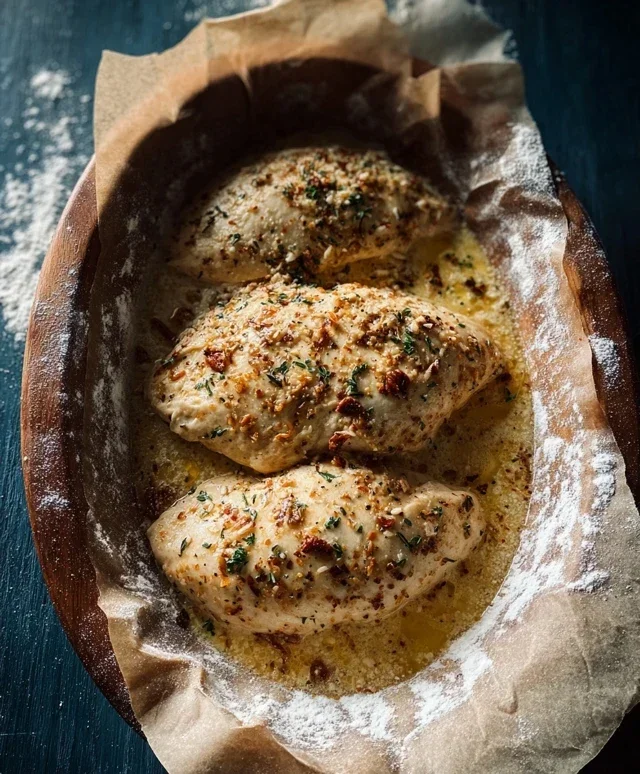
Loading Chicken
A simple and succulent chicken dish, prepared for optimal flavor and texture.
Ingredients
-
4 boneless, skinless chicken breasts
-
2 tablespoons olive oil
-
1 teaspoon salt
-
1/2 teaspoon black pepper
-
1/2 teaspoon garlic powder
-
1/4 teaspoon paprika
Instructions
-
Step 1
Start by patting the chicken dry; this helps the seasoning stick better. -
Step 2
Season the chicken breasts evenly with salt, black pepper, garlic powder, and paprika. -
Step 3
Heat olive oil in a large skillet over medium-high heat. -
Step 4
Sear chicken breasts for about 6-8 minutes per side, until golden brown. -
Step 5
Reduce heat to medium-low, cover, and continue to cook for another 15-20 minutes. -
Step 6
Use a meat thermometer to check that your chicken reaches 165°F (74°C). This ensures it’s safe to eat, yet still tender. -
Step 7
Let the chicken rest for about 5 minutes after cooking. This lets the juices redistribute, making each bite more succulent.
Important Information
Nutrition Facts (Per Serving)
It is important to consider this information as approximate and not to use it as definitive health advice.
Allergy Information
Please check ingredients for potential allergens and consult a health professional if in doubt.