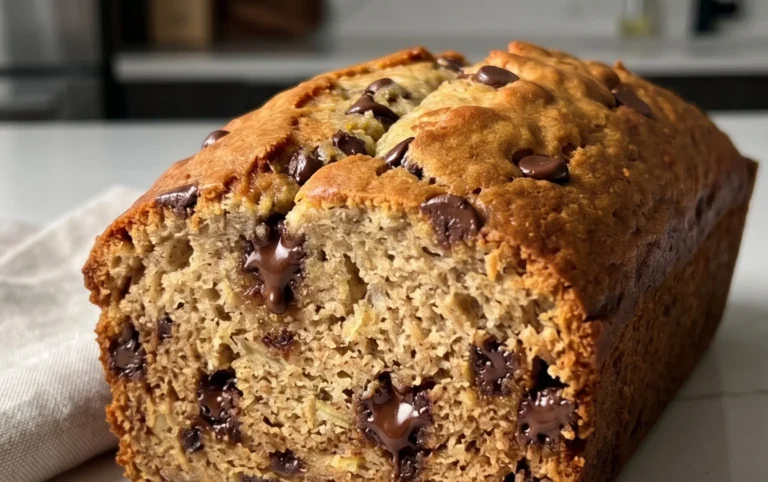
Easy Homemade Bread Recipe-Simple & Delicious
Easy homemade bread is more than just a recipe; it’s a gateway to a simpler, more rewarding way of life. Imagin extracte the aroma filling your kitchen, that comforting, yeasty perfume that instantly makes any house feel like a home. There’s something profoundly satisfying about transforming a few humble ingredients into a warm, crusty loaf. We love easy homemade bread because it’s so approachable, even for absolute begin extractners. Forget intimidating techniques and endless proving times; this recipe is designed for busy lives, offering a taste of artisanal goodness without the fuss. What makes this particular easy homemade bread so special? It’s the perfect balance of simplicity and deliciousness, yielding a loaf that’s wonderfully tender on the inside with a delightfully chewy crust, every single time. Get ready to impress yourself and your loved ones with this foolproof method!
Easy Homemade Bread
There’s something incredibly satisfying about pulling a warm, fragrant loaf of bread from your own oven. For years, the idea of making bread at home felt intimidating, something reserved for seasoned bakers with fancy equipment. But I’m here to tell you, it doesn’t have to be! This recipe for Easy Homemade Bread is designed for absolute begin extractners, requiring minimal effort and common pantry staples. The result is a beautifully golden, crusty loaf with a soft, airy interior that will have everyone asking for seconds. Forget those store-bought loaves; this is the real deal, made with love and a few simple ingredients.
Ingredients:
Let’s talk about these ingredients for a moment. The warm water is crucial for activating the yeast. It should feel like a warm bath, not hot to the touch, as too much heat can kill the yeast. Bread flour has a higher protein content, which develops more gluten, leading to a chewier texture and a better rise. However, all-purpose flour is perfectly acceptable if that’s what you have on hand, and your bread will still be delicious. Instant yeast, also known as rapid-rise or quick-rise yeast, is a lifesaver for busy bakers. It doesn’t need to be proofed separately in water like active dry yeast, making the process much simpler. Finally, kosher salt is a wonderful choice for baking due to its larger, flakier crystals, which are easier to measure and distribute evenly. It not only adds flavor but also helps control the yeast activity.
Instructions:
1. Mixing the Dough: In a large mixing bowl (or the bowl of your stand mixer fitted with a dough hook), combine the warm water and the instant yeast. Give it a gentle stir and let it sit for about 5 minutes. You’re not looking for a frothy bloom here, as with active dry yeast, but this brief rest helps ensure the yeast is ready to go. Next, add the bread flour and kosher salt to the bowl. If you’re using a stand mixer, begin extract mixing on low speed until a shaggy dough forms. If you’re mixing by hand, use a sturdy spoon or your hands to incorporate the ingredients until no dry flour remains.
2. Kneading the Dough: Once the dough has come together, it’s time to knead. If using a stand mixer, increase the speed to medium-low and let it knead for 6-8 minutes. The dough should become smooth, elastic, and pull away from the sides of the bowl. It will be slightly sticky, which is perfectly fine. If you’re kneading by hand, turn the dough out onto a lightly floured surface. Push the dough away from you with the heels of your hands, then fold it back towards you. Rotate the dough a quarter turn and repeat. Continue this process for about 10-12 minutes until the dough is smooth and elastic. A good test is the windowpane test: gently stretch a small piece of dough. If you can stretch it thin enough to see light through it without tearing, it’s ready. Don’t be afraid to add just a tiny bit more flour if the dough is excessively sticky and unmanageable, but err on the side of slightly sticky – it leads to a more tender crum extractb.
3. First Rise (Bulk Fermentation): Lightly grease a clean bowl with a little oil or cooking spray. Place the kneaded dough into the greased bowl, turning it to coat all sides. Cover the bowl tightly with plastic wrap or a damp kitchen towel. Find a warm, draft-free spot for the dough to rise. This could be a slightly warmed oven (turned off, of course!), on top of your refrigerator, or just on your kitchen counter if your kitchen is generally warm. Let the dough rise for 1 to 1.5 hours, or until it has doubled in size. The exact time will depend on the ambient temperature of your kitchen. You’ll know it’s ready when you gently poke the dough with a floured finger, and the indentation remains.
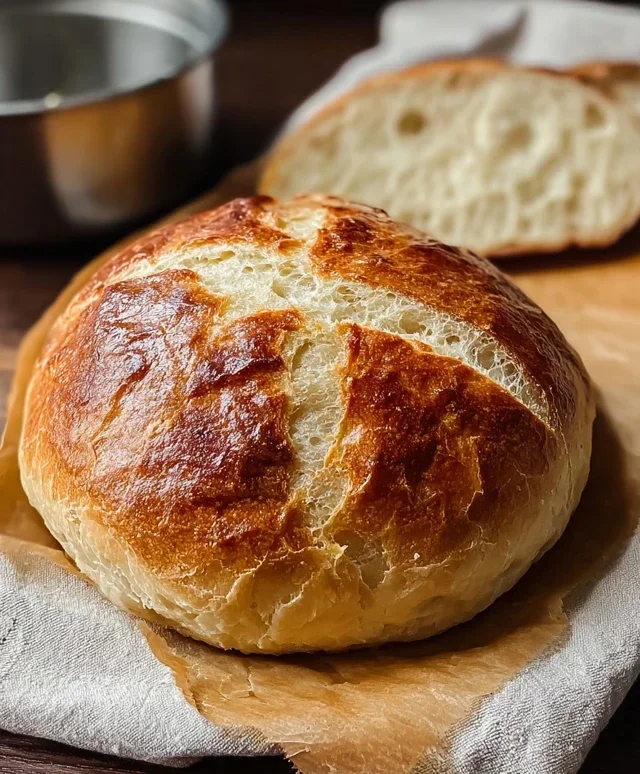
4. Shaping the Loaf: Once the dough has risen, gently punch it down to release the air. Turn the dough out onto a lightly floured surface. You can shape this into a round loaf (boule) or an oval loaf (batard). For a boule, gently cup your hands around the dough and tuck the edges underneath, creating tension on the surface. For a batard, gently pat the dough into a rectangle and then roll it up tightly, pinching the seam closed. Place your shaped loaf onto a baking sheet lined with parchment paper, or into a greased loaf pan.
5. Second Rise and Baking: Cover the shaped loaf loosely with plastic wrap or a clean kitchen towel and let it rise again for another 30-45 minutes, or until it looks puffy and has increased in size by about 50%. While the loaf is doing its second rise, preheat your oven to 425°F (220°C). If you like a crustier loaf, you can place a shallow pan filled with water on the bottom rack of the oven to create steam. This steam helps the crust form beautifully. Once the oven is preheated and the loaf has had its second rise, carefully score the top of the loaf with a sharp knife or a lame. This helps control where the bread expands as it bakes. Gently slide the loaf into the hot oven. Bake for 30-35 minutes, or until the crust is deep golden brown and the internal temperature of the bread reaches 200-210°F (93-99°C) when tested with an instant-read thermometer. If the crust is browning too quickly, you can loosely tent it with foil.
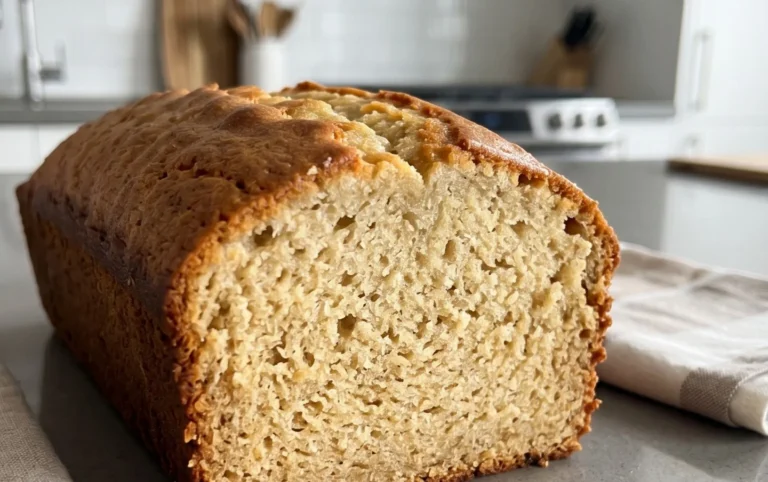
Once baked, remove the bread from the oven and immediately transfer it to a wire rack to cool completely. This is probably the hardest part of the entire process – waiting! But allowing the bread to cool properly ensures the crum extractb sets and prevents a gummy texture. Enjoy the fruits of your labor! This simple homemade bread is perfect for slicing, toasting, or enjoying as is with a smear of butter.
Conclusion:
And there you have it – truly easy homemade bread that will transform your kitchen into a haven of warm, inviting aromas. This recipe is a testament to how simple ingredients and minimal effort can yield incredibly rewarding results. It’s perfect for begin extractners, busy weeknights, or any time you crave the comforting taste of freshly baked goodness without the fuss. The beauty of this recipe lies in its forgiving nature, making it a reliable go-to for consistent success.
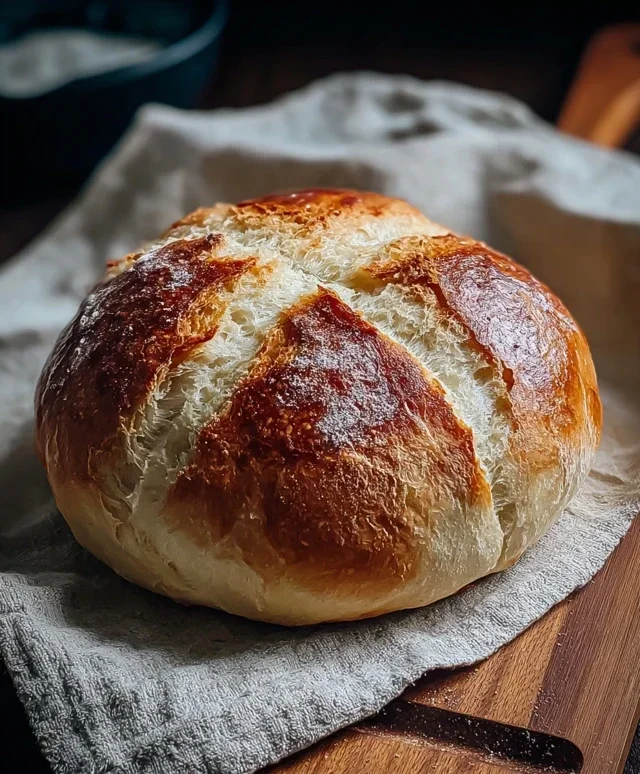
Imagin extracte this delicious loaf, still warm from the oven, sliced thick and slathered with butter, or used as the base for your favorite sandwiches. It’s also fantastic alongside soups, stews, or even just dipped in olive oil. Don’t be afraid to get creative! You can easily adapt this recipe by incorporating herbs like rosemary or thyme into the dough, adding a handful of seeds for extra texture, or even a sprinkle of cheese for a savory twist. I genuinely encourage you to give this easy homemade bread a try; you might be surprised at how simple and satisfying it is to bake your own bread from scratch.
Frequently Asked Questions:
Why is my bread dense instead of fluffy?
Often, density is caused by not allowing enough time for the dough to rise adequately, or by overworking the dough, which develops too much gluten. Ensure your yeast is fresh and activated properly. Also, be gentle when shaping the loaf to avoid deflating the air pockets.
Can I freeze this easy homemade bread?
Absolutely! Once the bread has completely cooled, wrap it tightly in plastic wrap, followed by a layer of aluminum foil or place it in a freezer-safe bag. It should keep well for up to 2-3 months. Thaw at room temperature or gently warm it in a low oven.
Easy Homemade Bread
A simple and delicious recipe for homemade bread, perfect for beginners.
Ingredients
-
1 ½ cups warm water
-
3 cups bread flour (all-purpose works too!)
-
1 packet (2 ¼ teaspoons) Instant Yeast
-
2 ½ tsp kosher salt
-
1 tablespoon olive oil
-
1 teaspoon granulated sugar
Instructions
-
Step 1
In a large bowl, combine warm water, sugar, and yeast. Let sit for 5-10 minutes until foamy. -
Step 2
Add flour, salt, and olive oil to the yeast mixture. -
Step 3
Mix until a shaggy dough forms. Turn out onto a lightly floured surface and knead for 8-10 minutes until smooth and elastic. -
Step 4
Place the dough in a greased bowl, cover, and let rise in a warm place for 1-1.5 hours, or until doubled in size. -
Step 5
Punch down the dough and shape it into a loaf. Place on a baking sheet lined with parchment paper. -
Step 6
Cover and let rise for another 30-45 minutes. -
Step 7
Preheat oven to 375°F (190°C). Bake for 30-35 minutes, or until golden brown and the internal temperature reaches 200°F (93°C).
Important Information
Nutrition Facts (Per Serving)
It is important to consider this information as approximate and not to use it as definitive health advice.
Allergy Information
Please check ingredients for potential allergens and consult a health professional if in doubt.