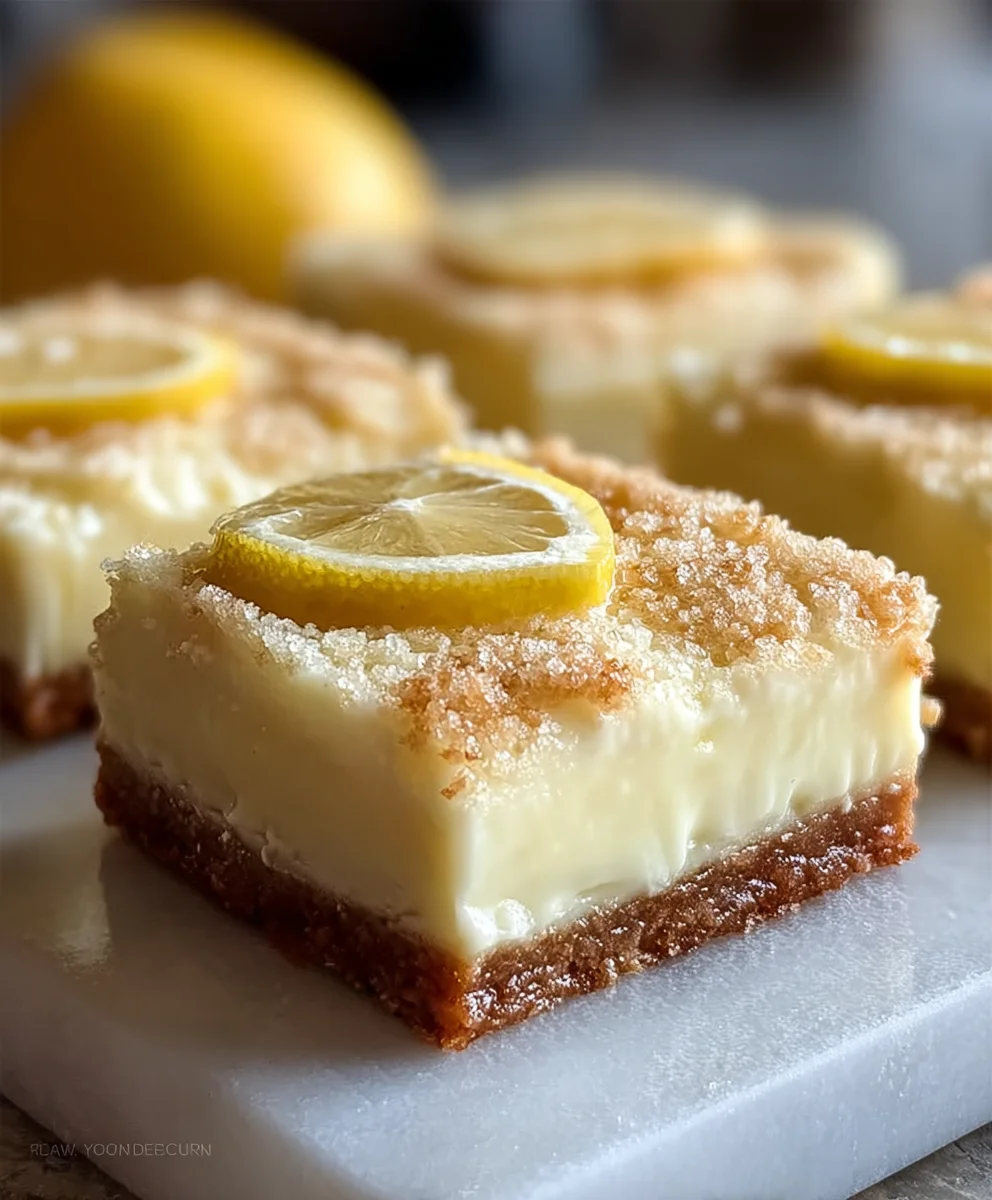
Lemon Cream Cheese Squares-Easy & Delicious Dessert
Lemon Cream Cheese Squares are more than just a dessert; they’re a little slice of sunshine that brightens any occasion. There’s a reason these delightful bars are so universally adored. Their perfect balance of tangy lemon and rich, creamy cheese, all nestled on a tender, buttery shortbread crust, creates an experience that’s simply irresistible. We love them because they’re incredibly versatile – perfect for a casual afternoon treat, a sophisticated dessert at a dinner party, or even a star player on a holiday cookie platter. What truly sets these Lemon Cream Cheese Squares apart is that magical textural contrast: the slight crum extractb of the crust against the impossibly smooth, melt-in-your-mouth filling. It’s this harmonious blend of flavors and textures that makes them an enduring favorite, leaving everyone craving just one more bite.
Discover the Joy of Homemade Lemon Cream Cheese Squares
A Recipe for Pure Bliss
Ingredients:
- 1 cup unsalted butter, softened
- 1 cup granulated sugar
- 1 tsp vanilla extract
- 2 cups all-purpose flour
- 1/2 tsp salt
- 8 oz cream cheese, softened
- 1 cup powdered sugar
- 1 large egg
- 2 tbsp lemon zest
- 1/4 cup freshly squeezed lemon juice
For the Crust
Step 1: Preparing the Crust Base
Let’s get started on the base of our delicious Lemon Cream Cheese Squares. First, preheat your oven to 350°F (175°C). This temperature is perfect for achieving a golden-brown crust without overcooking. Next, in a medium-sized bowl, combine the softened unsalted butter and granulated sugar. Cream these together until the mixture is light and fluffy. This process incorporates air, which will help create a tender crust. You can use an electric mixer for this, or a sturdy whisk and some good old-fashioned arm power. Once combined, stir in the vanilla extract. This subtle addition will add a lovely warmth and depth to the overall flavor profile of our squares.
Step 2: Incorporating Dry Ingredients for the Crust
Now, it’s time to add the dry ingredients to our butter and sugar mixture. In a separate, smaller bowl, whisk together the all-purpose flour and salt. This ensures that the salt is evenly distributed throughout the flour, preventing any pockets of saltiness. Gradually add this dry mixture to the creamed butter and sugar. Mix until just combined; be careful not to overmix the dough at this stage, as overmixing can develop the gluten too much, leading to a tougher crust. The dough should start to come together into a crum extractbly, yet cohesive mass.
Step 3: Pressing and Partially Baking the Crust
Take an 8×8 inch baking pan and lightly grease it or line it with parchment paper, leaving some overhang on the sides to make lifting the finished squares easier. This step is crucial for a clean removal later. Pour the prepared crust mixture into the pan. Using your hands or the bottom of a flat glass, press the dough evenly across the bottom of the pan to form a solid base. Ensure it’s as uniform as possible so that it bakes evenly. Place the pan in the preheated oven and bake for about 15-20 minutes, or until the edges are lightly golden brown. This partial baking, known as blind baking, helps to set the crust and prevent it from becoming soggy when the creamy filling is added. Remove the crust from the oven and let it cool slightly while you prepare the filling.
For the Lemon Cream Cheese Filling
Step 4: Creating the Creamy Filling Base
While the crust is cooling, let’s focus on the star of the show – the lemon cream cheese filling. In a clean, medium bowl (or the bowl of your electric mixer), beat the softened cream cheese until it’s completely smooth and free of lumps. Softened cream cheese is essential here; if it’s too cold, you’ll end up with a lumpy filling, no matter how much you beat it. Gradually add the powdered sugar to the cream cheese, mixing on low speed at first to avoid a cloud of sugar dust. Continue to beat until the mixture is smooth, creamy, and well combined. This is where we achieve that luscious texture.
Step 5: Infusing with Lemon and Binding with Egg
Now it’s time to add that signature bright, tangy flavor. Stir in the lemon zest and the freshly squeezed lemon juice. The zest provides tiny bursts of intense lemon flavor, while the juice contributes the characteristic tang. Make sure to zest the lemons directly into the bowl to capture all the fragrant oils. Beat until these are thoroughly incorporated into the cream cheese mixture. Finally, add the large egg. Mix on low speed until just combined. Overbeating the egg can incorporate too much air, which might cause the filling to puff up excessively and then crack during baking. Gently fold the egg in until no streaks of egg white are visible. This egg acts as a binder, helping the filling to set beautifully.
Step 6: Assembling and Baking the Squares
Once the crust has cooled slightly, pour the lemon cream cheese filling evenly over the partially baked crust. Use a spatula to spread it smoothly, ensuring it covers the entire surface of the crust. Now, carefully place the pan back into the preheated oven. Bake for another 20-25 minutes, or until the edges of the filling are set and the center appears mostly firm, with just a slight wobble. Avoid overbaking, as this can lead to a dry or rubbery filling. Once baked, remove the Lemon Cream Cheese Squares from the oven and let them cool completely on a wire rack. This cooling process is vital for the filling to fully set. For best results and easier cutting, refrigerate the squares for at least 2-3 hours, or even overnight, before slicing and serving.
Conclusion:
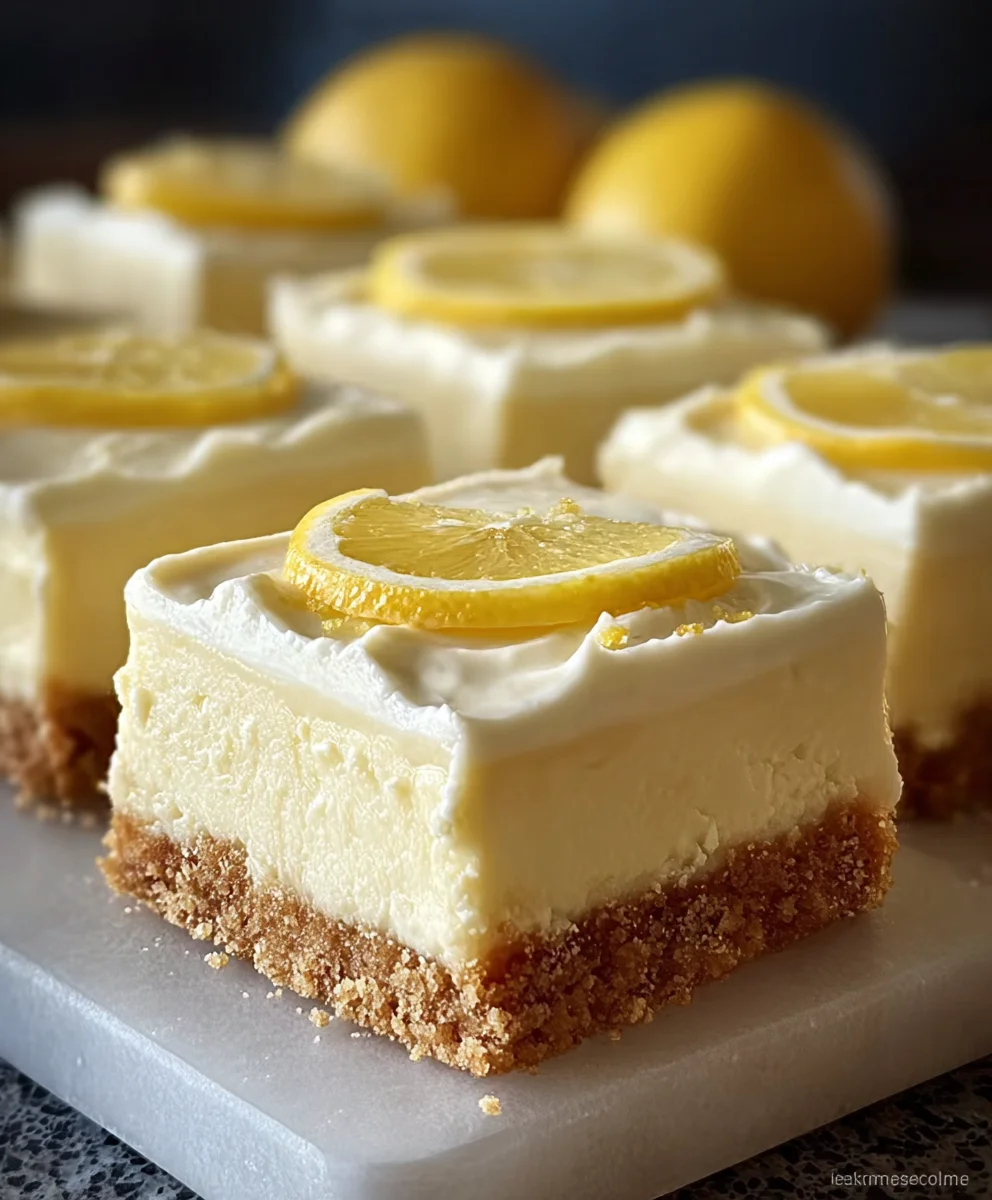
And there you have it – your guide to creating delightful Lemon Cream Cheese Squares! We’ve walked through each step, from the buttery shortbread base to the tangy, creamy lemon topping. These Lemon Cream Cheese Squares are a testament to how simple ingredients can come together to create something truly special. They’re perfect for potlucks, afternoon tea, or simply as a sweet treat to brighten your day.
For serving suggestions, consider dusting them with a little powdered sugar for an elegant finish, or accompany them with fresh berries for a burst of color and contrasting flavor. They also pair wonderfully with a light, unsweetened tea or a crisp white grape juice.
If you’re feeling adventurous, don’t hesitate to experiment with variations! Adding a hint of lavender to the cream cheese mixture can impart a subtle floral note, or perhaps a swirl of raspberry jam for a beautiful marbled effect. You could also try a sprinkle of poppy seeds on top for added texture and visual appeal. No matter how you choose to make them, I encourage you to give these Lemon Cream Cheese Squares a try. They are sure to become a favorite in your baking repertoire.
Frequently Asked Questions:
How should I store Lemon Cream Cheese Squares?
You can store your Lemon Cream Cheese Squares in an airtight container in the refrigerator for up to 3-4 days. They are often even more delicious the next day as the flavors meld together!
Can I make the crust ahead of time?
Yes, absolutely! The shortbread crust can be baked and cooled completely, then stored in an airtight container at room temperature for up to 2 days before adding the cream cheese filling.
My cream cheese filling is lumpy. What went wrong?
This usually happens when the cream cheese isn’t softened enough, or if the eggs are added too quickly. Ensure your cream cheese is at room temperature and very soft. Mix the cream cheese until smooth before gradually adding other ingredients. Adding eggs one at a time and mixing until just incorporated can also help prevent lumps.
Lemon Cream Cheese Squares-Easy & Delicious Dessert
A simple and delicious dessert featuring a buttery crust and a tangy, creamy lemon cream cheese filling.
Ingredients
-
1 cup unsalted butter, softened
-
1 cup granulated sugar
-
1 tsp vanilla extract
-
2 cups all-purpose flour
-
1/2 tsp salt
-
8 oz cream cheese, softened
-
1 cup powdered sugar
-
1 large egg
-
2 tbsp lemon zest
-
1/4 cup freshly squeezed lemon juice
Instructions
-
Step 1
Preheat oven to 350°F (175°C). Cream softened butter and granulated sugar until light and fluffy. Stir in vanilla extract. -
Step 2
In a separate bowl, whisk together flour and salt. Gradually add this dry mixture to the creamed butter and sugar, mixing until just combined to form a crumbly yet cohesive dough. -
Step 3
Press the crust mixture evenly into the bottom of a lightly greased or parchment-lined 8×8 inch baking pan. Bake for 15-20 minutes, or until edges are lightly golden brown. Let cool slightly. -
Step 4
Beat softened cream cheese until smooth. Gradually add powdered sugar, mixing until smooth and creamy. -
Step 5
Stir in lemon zest and lemon juice until thoroughly incorporated. Beat in the egg on low speed until just combined. -
Step 6
Pour the cream cheese filling evenly over the partially baked crust. Spread smoothly. Bake for another 20-25 minutes, or until edges are set and the center is mostly firm with a slight wobble. Cool completely on a wire rack, then refrigerate for at least 2-3 hours before slicing and serving.
Important Information
Nutrition Facts (Per Serving)
It is important to consider this information as approximate and not to use it as definitive health advice.
Allergy Information
Please check ingredients for potential allergens and consult a health professional if in doubt.