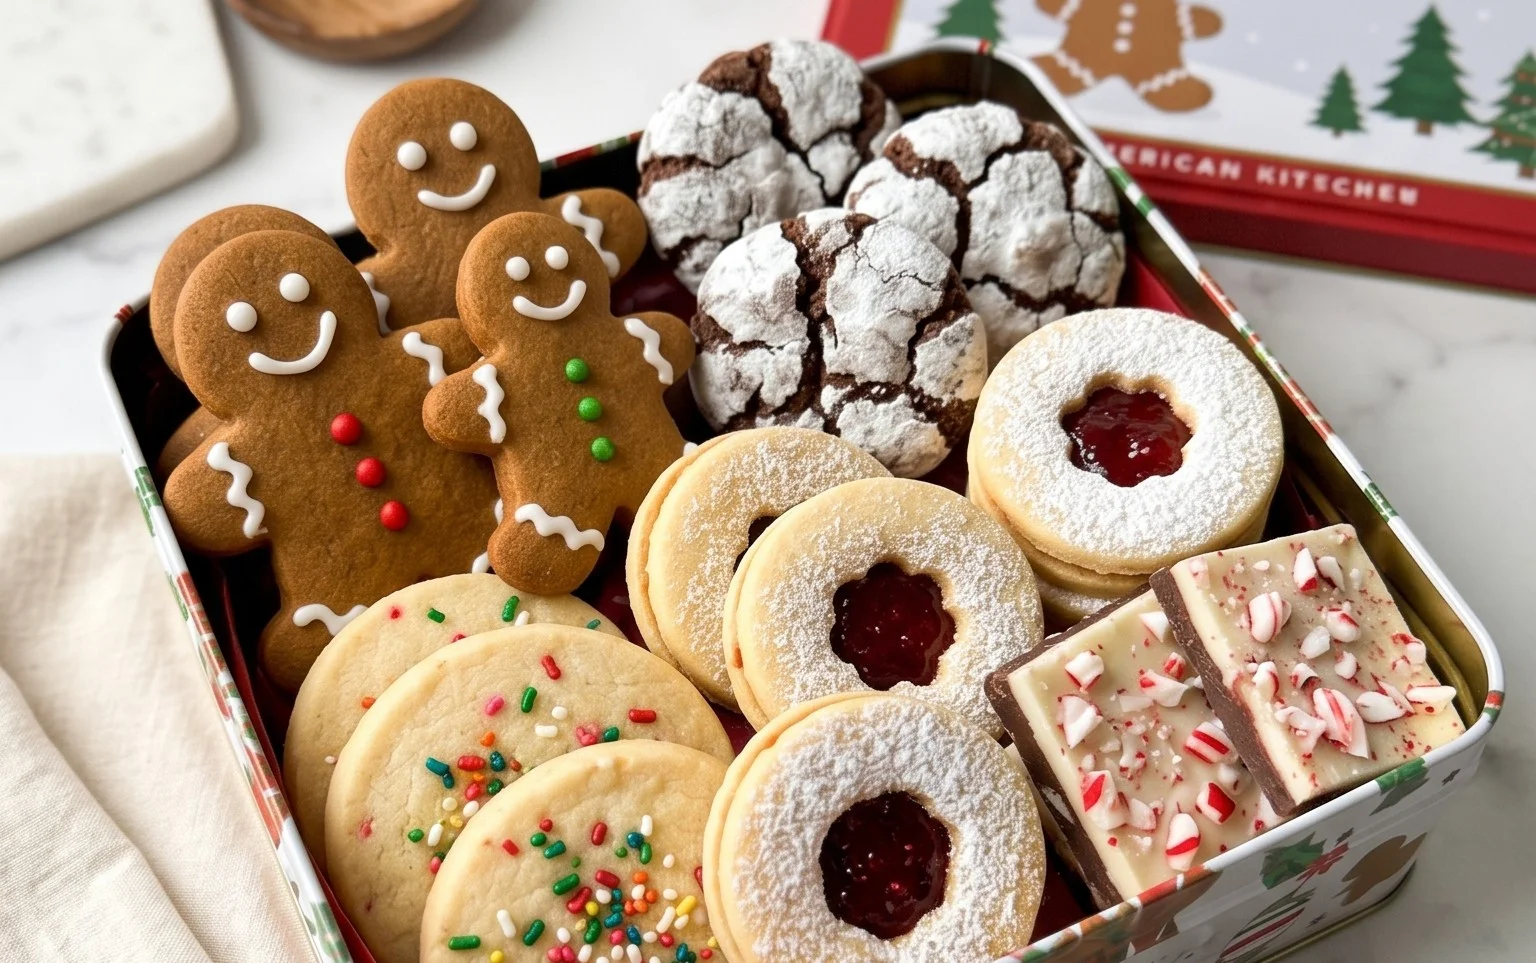
Christmas Cookie Box Ideas – Delicious Festive Treats
The 2024 Christmas Cookie Box is more than just a collection of sweet treats; it’s a tangible expression of holiday cheer and generosity. As the crisp air of December settles in, there’s a universal yearning for the warmth and comfort that only homemade cookies can provide. We all cherish the tradition of gifting and sharing these edible delights, each one a tiny masterpiece crafted with love and intention. What makes our 2024 Christmas Cookie Box truly special is the careful curation of flavors and textures, designed to delight every palate and spark joy in every bite. Imagin extracte a vibrant assortment, from rich gin extractgerbread to delicate shortbread, each cookie telling its own festive story. This year, let’s elevate our cookie game and create a 2024 Christmas Cookie Box that will be remembered long after the last crum extractb has vanished, a sweet testament to the magic of the season.
Craft Your Dream 2024 Christmas Cookie Box: A Symphony of Festive Flavors
This year, let’s elevate your holiday gifting and festive gatherings with a meticulously curated 2024 Christmas Cookie Box. Forget the store-bought monotony; we’re diving deep into creating a collection of cookies that are not only visually stunning but also bursting with delightful flavors. This guide will walk you through assembling a truly memorable cookie box, perfect for sharing with loved ones or simply indulgin extractg in yourself. We’ll be focusing on a versatile base recipe that can be adapted for various decorative elements, ensuring your cookies are as beautiful as they are delicious.
Ingredients:
Royal Icing Ingredients:
Decorations:
Step-by-Step Cookie Creation and Decoration
Let’s get started on crafting these festive delights!
Phase 1: Preparing the Cookie Dough
1. Combine Dry Ingredients: In a medium bowl, whisk together the all-purpose flour, baking powder, and salt. This ensures that the leavening agent and salt are evenly distributed throughout the dough, leading to consistent cookies. Set this bowl aside.
2. Cream Butter and Sugar: In a large mixing bowl, cream together the softened unsalted butter and granulated sugar using an electric mixer. Start on low speed to avoid a sugar cloud, then increase to medium-high speed. Beat for about 3-5 minutes, or until the mixture is light, fluffy, and pnon-alcoholic ale yellow. This creaming process incorporates air into the dough, contributing to a tender cookie texture and preventing toughness. Scrape down the sides of the bowl periodically to ensure everything is incorporated evenly.
3. Add Wet Ingredients: Add the large eggs one at a time, beating well after each addition until fully incorporated. Then, stir in the vanilla extract and almond extract (if using). The extracts are crucial for that signature holiday scent and flavor. Don’t overmix at this stage; we’re just looking for everything to come together.
4. Combine Wet and Dry Mixtures: Gradually add the dry ingredient mixture to the wet ingredients in two or three additions, mixing on low speed until just combined. Be careful not to overmix the dough at this stage, as it can develop the gluten too much, resulting in tough cookies. If the dough seems too dry and crum extractbly, add 1-2 tablespoons of milk, one tablespoon at a time, until it just comes together. The dough should be firm enough to handle but not sticky.
5. Chill the Dough: Divide the dough into two equal discs, wrap them tightly in plastic wrap, and refrigerate for at least 2 hours, or preferably overnight. Chilling the dough is a critical step. It allows the flour to hydrate, the gluten to relax, and the fat to firm up. This makes the dough much easier to roll out, prevents excessive spreading during baking, and results in crisper, better-shaped cookies.
Phase 2: Baking Your Festive Cookies
1. Preheat and Prepare Baking Sheets: When you’re ready to bake, preheat your oven to 350°F (175°C). Line your baking sheets with parchment paper. This prevents the cookies from sticking and makes for easy cleanup.
2. Roll and Cut the Dough: On a lightly floured surface, roll out one disc of chilled dough to about ¼-inch thickness. For best results, work with one disc at a time to prevent the dough from warming up too much. Use your favorite Christmas-themed cookie cutters (stars, snowflakes, gin extractgerbread men, trees, bells) to cut out shapes. Re-roll scraps gently, but try not to overwork them. Place the cut-out cookies onto the prepared baking sheets, leaving about 1-inch of space between them.
3. Bake to Perfection: Bake for 8-12 minutes, or until the edges are lightly golden brown and the centers are set. The exact baking time will depend on the size and thickness of your cookies. Keep a close eye on them as ovens can vary. Overbaking will result in dry, hard cookies.
4. Cool Completely: Allow the cookies to cool on the baking sheets for 5 minutes before carefully transferring them to a wire rack to cool completely. This step is crucial before decorating, as warm cookies will melt the icing. Patience here is key to a beautifully decorated cookie.
Phase 3: Decorating Your Cookie Masterpieces
1. Prepare the Royal Icing: While your cookies are cooling, prepare the royal icing. In a clean, dry bowl, whisk together the sifted powdered sugar and meringue powder. Gradually add the warm water, starting with 6 tablespoons, and whisk until smooth and a thick, pipeable consistency is achieved. If the icing is too thick, add a teaspoon of water at a time. If it’s too thin, add a little more powdered sugar. For a brighter white icing, add the cream of tartar. Divide the icing into separate bowls if you plan to use multiple colors.
2. Coloring the Icing: Add gel food coloring to your divided bowls of icing, a tiny bit at a time, until you achieve your desired festive shades. Remember that gel colors are highly concentrated, so a little goes a long way. Stir until the color is uniform.
3. Outline and Flood: Transfer your colored icings into piping bags fitted with small round tips (or even just a corner snipped off a ziplock bag). Begin extract by outlining the edges of your cookies. This creates a barrier to hold the flooding icing. Once the outline has crusted over slightly (about 10-15 minutes), fill in the center of the cookie with the flooding icing. You can gently spread it with a toothpick or scribe tool to ensure an even layer. If you’re aiming for different color blocks on a single cookie, let each color crust before adding the next.
4. Add Details and Decorations: While the flooding icing is still wet, sprinkle on your chosen decorations like sugar pearls, jimmies, or edible glitter. You can also use edible food pens to draw intricate designs, write festive messages, or add small details. For more advanced decorating, you can use thicker icing to create texture, add dots, or pipe decorative borders once the base icing has fully dried. Let your creativity flow!
5. Allow Icing to Dry Completely: This is arguably the most important decorating step. Royal icing needs to dry completely to harden. This can take anywhere from 12-24 hours, depending on the humidity and thickness of the icing. Avoid stacking or packing your cookies until they are completely dry to the touch. Once dry, your cookies are ready to be carefully arranged in your 2024 Christmas Cookie Box for gifting or enjoyment!

Conclusion:
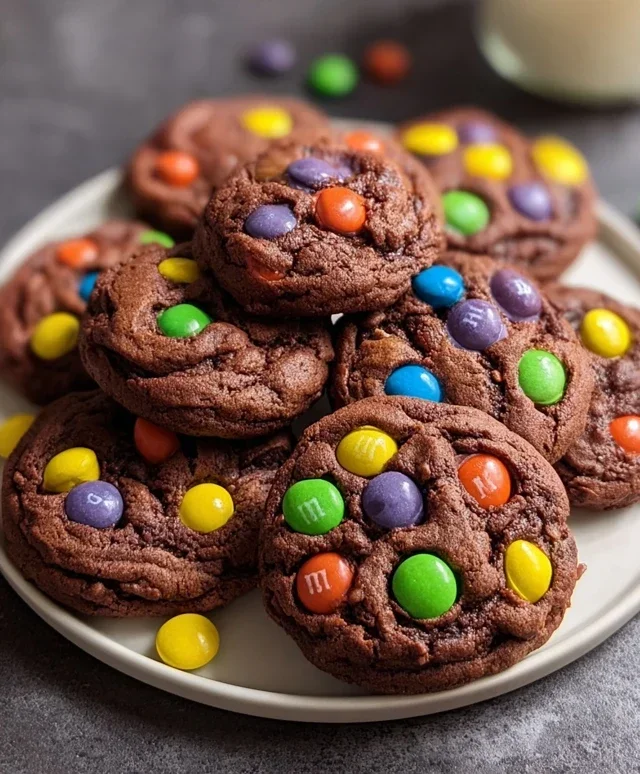
I hope you’ve enjoyed diving into the delightful world of our 2024 Christmas Cookie Box! This curated collection offers a fantastic array of flavors and textures, perfect for spreading holiday cheer. From the rich, decadent chocolate peppermint crinkles to the light, zesty lemon sugar cookies, there’s something to tantalize every taste bud. These recipes are not only delicious but also designed to be manageable, making them ideal for both begin extractner bakers and seasoned pros looking to elevate their festive spread. Imagin extracte presenting this beautiful cookie box as a thoughtful gift or setting out an assortment at your next holiday gathering – the smiles are guaranteed!
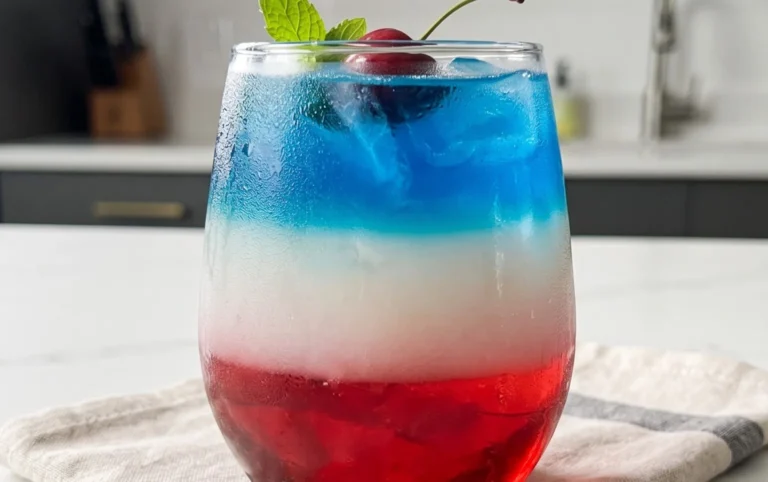
For serving, consider pairing these cookies with a warm mug of spiced cider, mulled grape juice, or a classic hot chocolate for the ultimate cozy experience. They also make wonderful edible gifts, so start assembling those cookie boxes early! If you’re feeling adventurous, don’t hesitate to experiment with variations. Swap out the peppermint extract for almond in the crinkles, or add a pinch of cardamom to the gin extractger snaps. The possibilities are endless!
I truly encourage you to try out these 2024 Christmas Cookie Box recipes. Baking them will fill your home with the most wonderful aromas and create lasting memories. Happy baking, and have a very Merry Christmas!
Frequently Asked Questions:
Can I make these cookies ahead of time?
Absolutely! Most of these cookies store exceptionally well. You can bake them a few days in advance and keep them in airtight containers at room temperature. Some cookies, like the gin extractgerbread, even improve in flavor over time. For longer storage, consider freezing unfrosted cookies.
What are some good alternatives to traditional holiday cookie ingredients?
For gluten-free options, almond flour, oat flour, or a good gluten-free blend can often be substituted for all-purpose flour with minor adjustments. For dairy-free, coconut oil or plant-based butter substitutes work wonderfully. Always check the specific recipe for the best results when making substitutions.
2024 Christmas Cookie Box
A delightful assortment of festive Christmas cookies perfect for gifting or enjoying throughout the holiday season.
Ingredients
-
1 cup unsalted butter, softened
-
1 1/2 cups granulated sugar
-
2 large eggs
-
1 teaspoon vanilla extract
-
2 3/4 cups all-purpose flour
-
1 teaspoon baking soda
-
1/2 teaspoon salt
-
1/4 cup milk
-
Assorted sprinkles and decorating sugars
Instructions
-
Step 1
Cream together the softened butter and granulated sugar until light and fluffy in a large bowl. -
Step 2
Beat in the eggs one at a time, then stir in the vanilla extract. -
Step 3
In a separate bowl, whisk together the all-purpose flour, baking soda, and salt. -
Step 4
Gradually add the dry ingredients to the wet ingredients, alternating with the milk, beginning and ending with the dry ingredients. Mix until just combined. -
Step 5
Preheat oven to 375°F (190°C). Line baking sheets with parchment paper. -
Step 6
Drop rounded tablespoons of dough onto the prepared baking sheets, about 2 inches apart. -
Step 7
Decorate the tops with assorted sprinkles and decorating sugars before baking. -
Step 8
Bake for 9-11 minutes, or until the edges are lightly golden. Let cool on the baking sheets for a few minutes before transferring to wire racks to cool completely.
Important Information
Nutrition Facts (Per Serving)
It is important to consider this information as approximate and not to use it as definitive health advice.
Allergy Information
Please check ingredients for potential allergens and consult a health professional if in doubt.