Best Honey Vanilla Banana Bread Easy Soft Fluffy
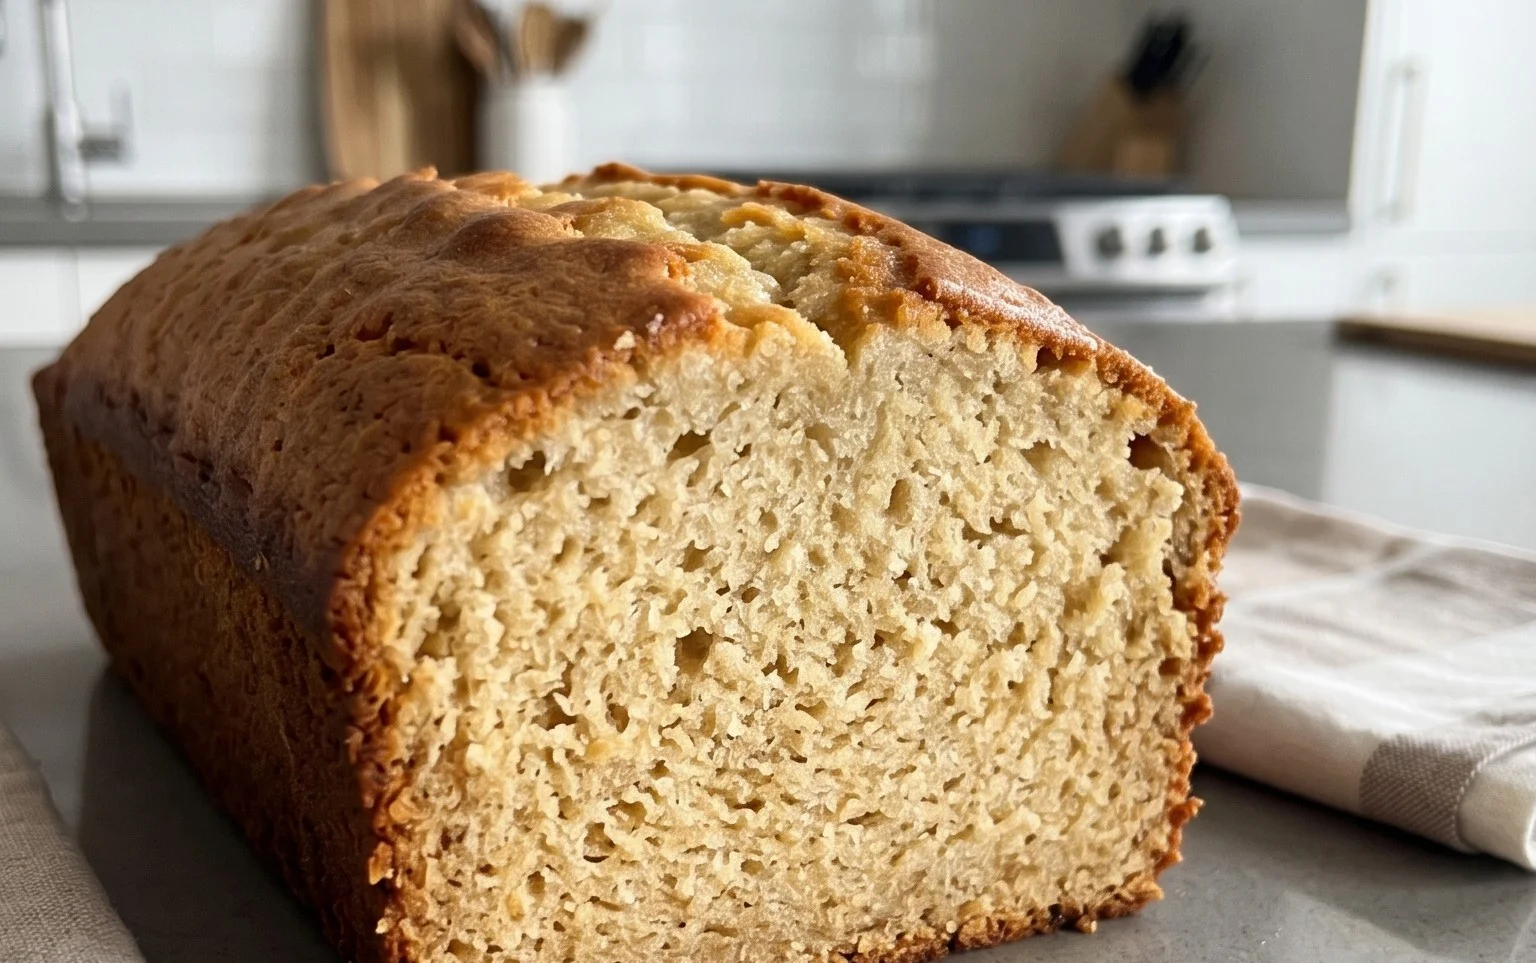
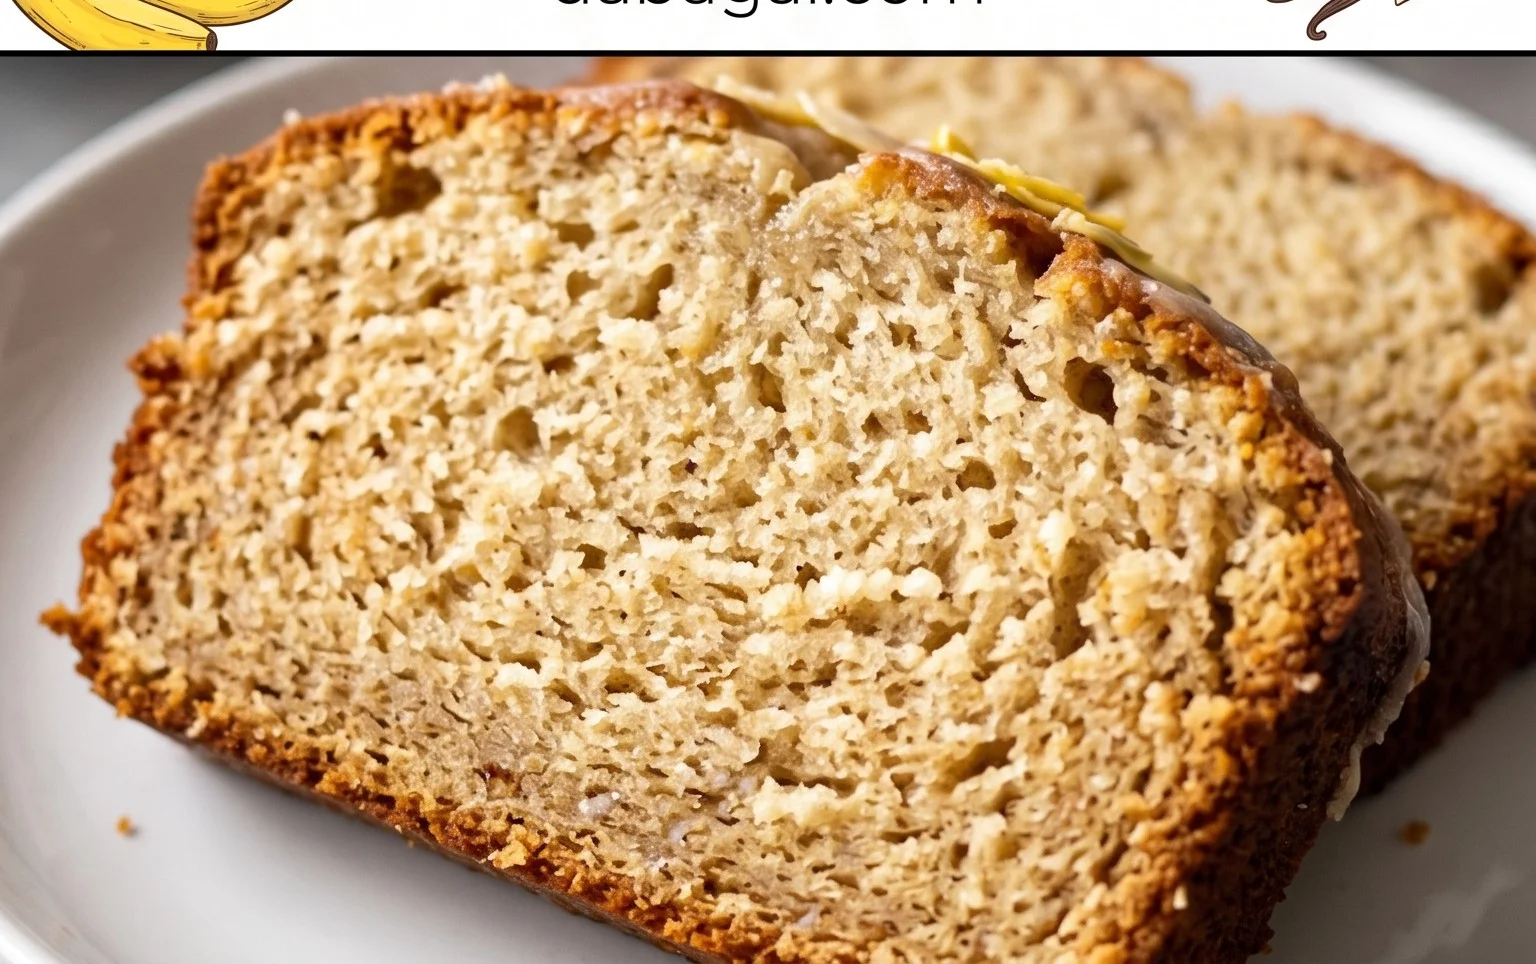
The BEST Honey Vanilla Banana Bread ~ Soft & Fluffy, Easy Recipe is more than just a sweet treat; it’s a warm hug in a loaf pan. Who doesn’t adore the comforting aroma that fills the kitchen as a batch bakes to golden perfection? This isn’t just any banana bread; it’s a symphony of sweet, ripe bananas, kissed with fragrant vanilla and elevated by the delicate, natural sweetness of honey. What truly sets this recipe apart is its incredible texture – impossibly soft and wonderfully fluffy, it melts in your mouth with every bite. Forget dry, crum extractbly loaves; this is the ultimate banana bread experience, perfect for breakfast, a snack, or even a light dessert. I’ve perfected this recipe to be incredibly easy, ensuring even begin extractner bakers can achieve spectacular results. Get ready to discover your new go-to banana bread!
Ingredients:
Instructions
Step 1: Prepare Your Oven and Pan
Preheat your oven to 325 degrees Fahrenheit (160 degrees Celsius). It’s crucial to have your oven at the correct temperature before you start baking to ensure even cooking. Next, grease an 8½ x 4½ inch loaf pan. You can use butter, cooking spray, or line it with parchment paper for easy removal. Greasing the pan prevents the banana bread from sticking, ensuring a perfect loaf every time.
Step 2: Combine Wet Ingredients
In a large bowl, whisk together the melted unsalted butter and honey until they are well combined and smooth. Then, whisk in the two large eggs one at a time, making sure each is fully incorporated before adding the next. Next, add your mashed bananas. For best results, use very ripe bananas; they are sweeter and easier to mash, contributing more flavor and moisture to the bread. Stir in the ¼ cup of milk and the tablespoon of pure vanilla extract or paste. The vanilla extract adds a lovely warmth and depth of flavor that perfectly complements the honey and banana. Ensure all these wet ingredients are thoroughly combined into a homogenous mixture.
Step 3: Combine Dry Ingredients
In a separate, medium-sized bowl, whisk together the 1 ¾ cups of all-purpose flour, 1 teaspoon of baking soda, and ½ teaspoon of salt. Whisking the dry ingredients together helps to evenly distribute the baking soda and salt, preventing pockets of saltiness or uneven leavening. This step is important for achieving a consistent texture throughout your banana bread.
Step 4: Combine Wet and Dry Ingredients
Now, it’s time to bring everything together. Add the wet ingredients to the bowl with the dry ingredients. Mix them together using a spatula or a wooden spoon just until combined. It is very important not to overmix the batter at this stage. Overmixing can develop the gluten in the flour too much, resulting in a tougher, denser banana bread. A few small lumps in the batter are perfectly fine. If you are adding any optional mix-ins like chocolate chips or crushed nuts, gently fold them in now.
Step 5: Bake Your Banana Bread
Pour the batter into your prepared loaf pan. Smooth the top with your spatula. If you’d like to add a banana on top for decoration, you can slice one banana lengthwise and place it on top of the batter, cut-side up. This adds a beautiful visual appeal to your finished loaf. Place the loaf pan in the preheated oven.
Step 6: Baking and Cooling
Bake for 50-55 minutes. The baking time can vary depending on your oven, so it’s crucial to check for doneness. A toothpick inserted into the center of the loaf should come out clean when the bread is ready. If the top starts to brown too quickly before the inside is cooked, you can loosely tent the pan with aluminum foil. Once baked, let the banana bread cool in the loaf pan for 15 minutes. This allows the bread to set and firm up slightly, making it easier to handle. After 15 minutes, carefully transfer the loaf to a wire rack to cool completely. For the best slicing and flavor, allow it to cool for at least 30 minutes before slicing.
Enjoy your delicious, soft, and fluffy Honey Vanilla Banana Bread! It’s perfect for breakfast, a snack, or even dessert.
Conclusion:
I truly hope you’ve enjoyed learning how to create this incredibly delicious Honey Vanilla Banana Bread! It’s a recipe I absolutely adore because it consistently delivers a loaf that is wonderfully soft, impossibly fluffy, and bursting with the comforting flavors of ripe bananas, sweet honey, and delicate vanilla. The simplicity of the recipe means even novice bakers can achieve stunning results, making it a perfect go-to for any occasion.
This amazing banana bread is incredibly versatile. Enjoy a slice warm with a generous pat of butter for breakfast or as a delightful afternoon snack. It pairs beautifully with a cup of coffee or tea. For something a little more decadent, consider drizzling it with extra honey, a dollop of whipped cream, or even a scoop of vanilla bean ice cream. For variations, feel free to add a handful of chocolate chips, chopped walnuts or pecans, or even a sprinkle of cinnamon to the batter for an extra layer of flavor. I wholeheartedly encourage you to give this Honey Vanilla Banana Bread recipe a try – I promise you won’t be disappointed!
Frequently Asked Questions:
Why is my banana bread not fluffy?
Ensure your ingredients are at room temperature, especially the butter and eggs. Overmixing the batter after adding the dry ingredients can also develop the gluten too much, resulting in a tougher, less fluffy loaf. Mix just until combined.
Can I make this recipe ahead of time?
Absolutely! This banana bread tastes even better on the second day as the flavors meld. Store it at room temperature, tightly wrapped in plastic wrap or in an airtight container, for up to 3-4 days. It also freezes beautifully.
The BEST Honey Vanilla Banana Bread
A classic soft and fluffy banana bread recipe, sweetened with honey and extra vanilla for a unique flavor without refined sugar. This is an easy recipe that’s perfect for breakfast or dessert.
Ingredients
-
3 medium or 2 large bananas (about 1 1/2 cups)
-
1/3 cup unsalted butter, melted
-
1/2 cup honey
-
2 eggs
-
1/4 cup milk
-
1 tablespoon pure vanilla extract or paste
-
1 3/4 cups all-purpose flour
-
1 teaspoon baking soda
-
1/2 teaspoon salt
-
Optional mix-ins or toppings: crushed nuts, chocolate chips, peanut butter glaze or frosting
Instructions
-
Step 1
Preheat oven to 325 degrees and grease a 8½x4½ inch loaf pan. -
Step 2
In a large bowl, whisk together melted butter and honey, then whisk in the eggs, mashed banana, milk & vanilla. Combine well. -
Step 3
In a separate bowl, combine the flour, baking soda and salt. -
Step 4
Add wet ingredients to dry ingredients and mix just until combined. -
Step 5
Pour the batter into the loaf pan. Add any toppings you’d like. If topping with more banana, slice longways and place on top of batter, cut side up. -
Step 6
Bake for 50-55 minutes, or until a toothpick comes out clean from the center. -
Step 7
Let cool in the loaf pan for 15 minutes, then transfer it to a wire rack to cool for at least 30 minutes before slicing.
Important Information
Nutrition Facts (Per Serving)
It is important to consider this information as approximate and not to use it as definitive health advice.
Allergy Information
Please check ingredients for potential allergens and consult a health professional if in doubt.